Posts mit dem Label doodle werden angezeigt. Alle Posts anzeigen
Posts mit dem Label doodle werden angezeigt. Alle Posts anzeigen
Mittwoch, April 16, 2014
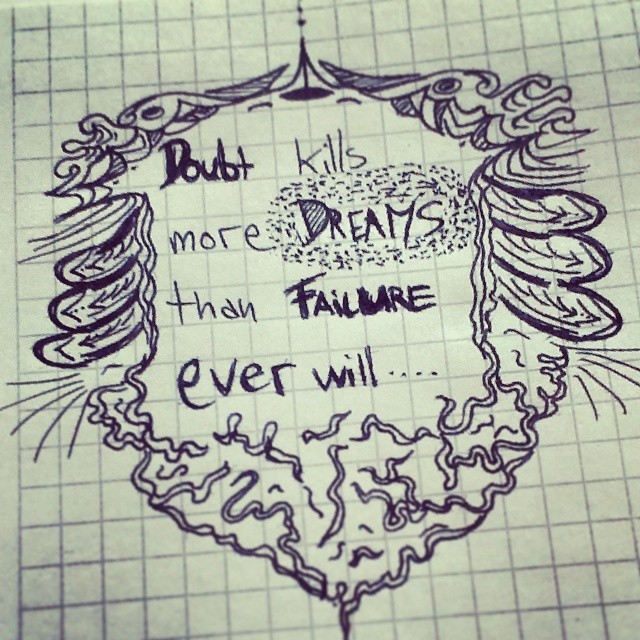
MidweekMINDFUEL
A doodle I made some time ago came to my mind today, when thinking about how to get my dream of a design business going... How am I supposed to handle all the tasks...will I make it? Do I have the skills required? Am I running into failure?
Basically: WHATever! Biggest failure will always be NOT trying anyways, right?! ;)

Sonntag, Mai 05, 2013
Tiki's DIYary #2 ^-^...today : ~~ Chevron & Arrows doodle Bag ~~
 |
| Want it?...get it HERE |
Hey fellow crafty-lovers!
. . .Finally I'm able to present another Making-Of! *yay*
This ain't really going to be a tutorial, because it's just too easy to do. . . ;)
But in case you're interested in watching the steps from a simple plain 1€ cotton tote to a unique handmade piece of Accessoire. . .
(that you can even purchase in my shop !!! =D)
. . . you might hopefully enjoy the following images. ^-^
All you need. . . (besides LOVE & fun ;b)
a plain natural white (or whatever uni-color you like) cotton bag
(You can find these easily on the internet, or at the supermarket,. . . you know, the stuff the have under the checkout counter, where the plastic bags are,too. But maybe you need to search a little, till you find a supermarket that has NOT already prints of their logo on the bags. In Germany I found them in Kaufland stores.)
textile / laundry marker
(There are two different types. Next to the usually sold pens, that come in various colors and are washable till 30-60°C, there are these laundry markes, which are mostly black and withstand up to 90°C. I recommend those for durability, but you need to know, that they're not as saturated in color as the others! )
ruler (optional)
iron (for fixing the marker)
(You can find these easily on the internet, or at the supermarket,. . . you know, the stuff the have under the checkout counter, where the plastic bags are,too. But maybe you need to search a little, till you find a supermarket that has NOT already prints of their logo on the bags. In Germany I found them in Kaufland stores.)
(There are two different types. Next to the usually sold pens, that come in various colors and are washable till 30-60°C, there are these laundry markes, which are mostly black and withstand up to 90°C. I recommend those for durability, but you need to know, that they're not as saturated in color as the others! )
On one side, I wanted a chevron pattern.
. . .Simply started out with the first ziagzag lining.

Next thing is to decide about the width between the lines.
I made little dots for every edge point. (Think I measured it with the ruler. . .)


. . .That way you can simply connect the dots afterwards and draw
nice and straight lines without much effort.


. . . FOR THE COMPLETE ARTICLE :

Abonnieren
Kommentare
(
Atom
)
